DIY Tutorial - How to Make Faucet Extender for Toddlers
(Note: Some links in this post are affiliate links, and we will be compensated when you make a purchase by clicking through our links. Read our disclosure policy here.)
Who cut the cheese? We did, of course!
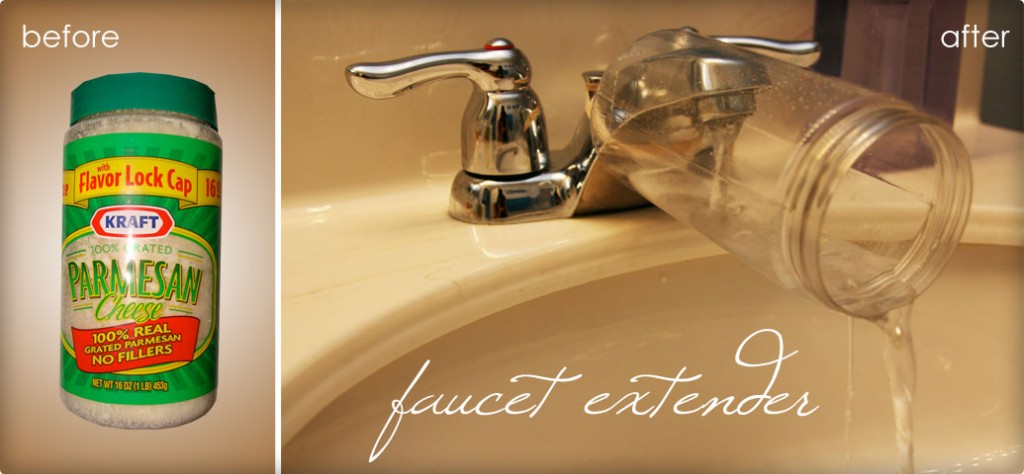
After visits to Target and Babies-R-Us looking for an affordable faucet extender without much luck, we decided to make our own.
We created a budget-friendly faucet extender using a parmesan cheese container. It's simple to make, easy to clean and works great.
Here's what you'll need:
- Plastic food-safe container. This parmesan cheese
container works perfectly.
-
Drill
-
Scissors
-
4-inch rubber band

Instructions:
- Cut and drill 3 holes on the bottom of the container. The large square hole is where the faucet will be inserted. 2 smaller holes are for the rubber band.
- Drill a small hole in the bottom of the container to drain any excess water.

- Insert the rubber band and attach it to your faucet.
Here’s the little monster washing his hands on his own like a champ.

There you have it. It may not be fancy but it sure is functional. Hope this inspires you to make your own “cheesy” creations. If you found this useful or have any questions leave us your comments below, we love hearing from you!
If you haven't already, check out our shop. 10% will benefit organizations that empower underprivileged youth. Learn more about our mission to Be The Good.


