(Note: Some links in this post are affiliate links, and we will be compensated when you make a purchase by clicking through our links. Read our disclosure policy here.)
Each holiday we have two important traditions:
1. Make ornaments for our tree.
2. Add an ornament with our family photo.
This year I combined the two and made a wooden photo ornament that we LOVE. I’m so thrilled with how it turned out especially since I ordered one last year and was disappointed by it. The photo was printed directly on the block making the details faded and hard to see.
This project is easy, inexpensive and makes for great gifts! Here’s the breakdown of how to make one for yourself:
Video Tutorial:
Detailed Instructions:

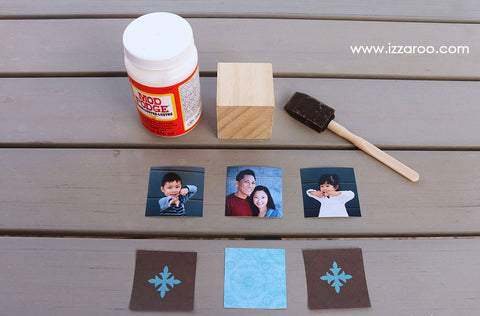
Supplies:
-
2 Inch – Wood Square Blocks
-
Screw eyelets
-
Mod Podge
-
Foam Brush
- Ribbon
- Scrapbook paper and photos cut to size of block

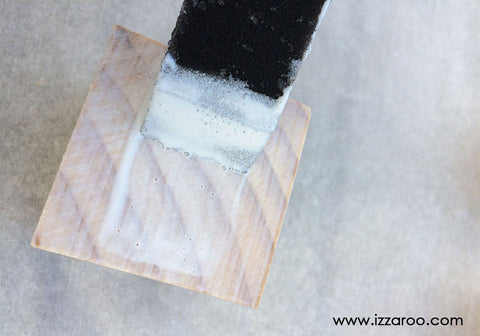
- Use the foam brush to add a thin layer of Mod Podge to block and add photos/paper one side at a time.
- Add 1-2 layers of Mod Podge over the photo/paper. Let dry in between each layer.

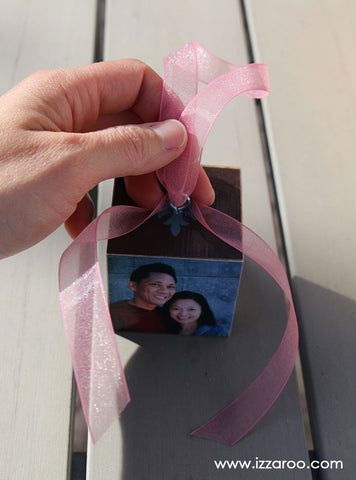
Drill a small hole in the center of the top.

Screw in the eyelet.

Tie your ribbon.
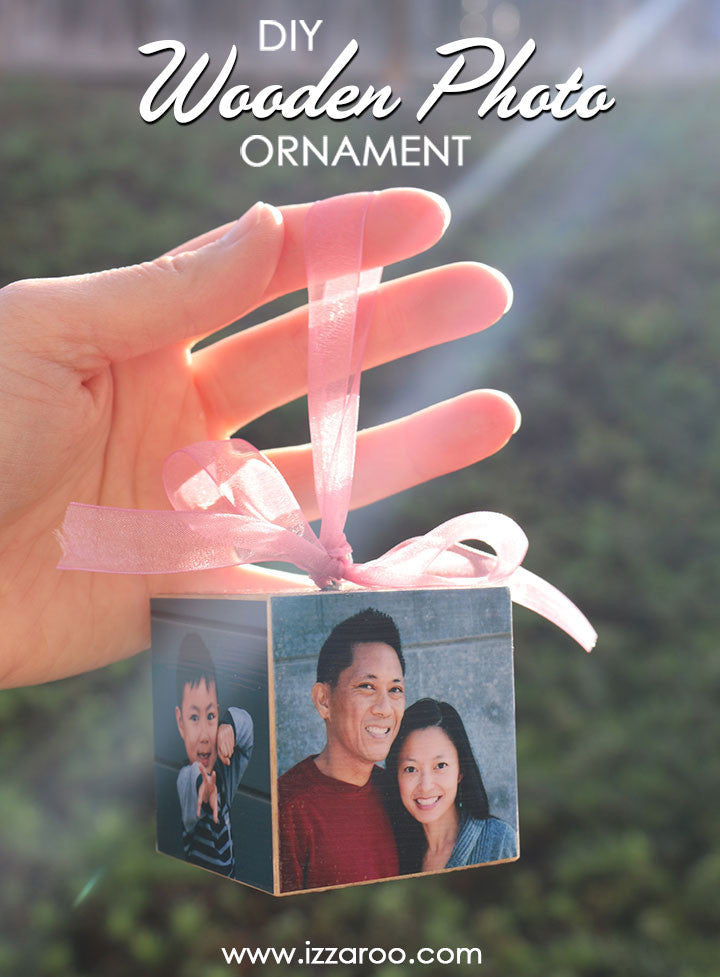
And ? there you have it. A beautiful wooden ornament with clear photos of your loved ones.

Easy peasy, right?! Hope this inspires you to make one or a dozen like I did this year. I would love to hear what you think of these and see your own creations!
For more DIY ornaments check out what we’ve made in years past.
For more fun video tutorials, check out our YouTube channel.
These would make a great teacher appreciation gift, too. I even know a teacher who made one for each of her students for the holidays.
If you’re a creative soul like me, you’ll love our collection of Create More shirts. 10% of net profits will benefit organizations that empower underprivileged youth. Learn more about our mission to Be The Good.









Leave a comment